Chromebook Printing - JMF6 Handbook
Go HomeMost of the time, printing should be simple.
To print:
-
Open the print menu in whatever app/website you’re using. This will be different for every app/page, so if you’re unsure, Google it. Most places also allow you to open the menu by pressing Ctrl + P.
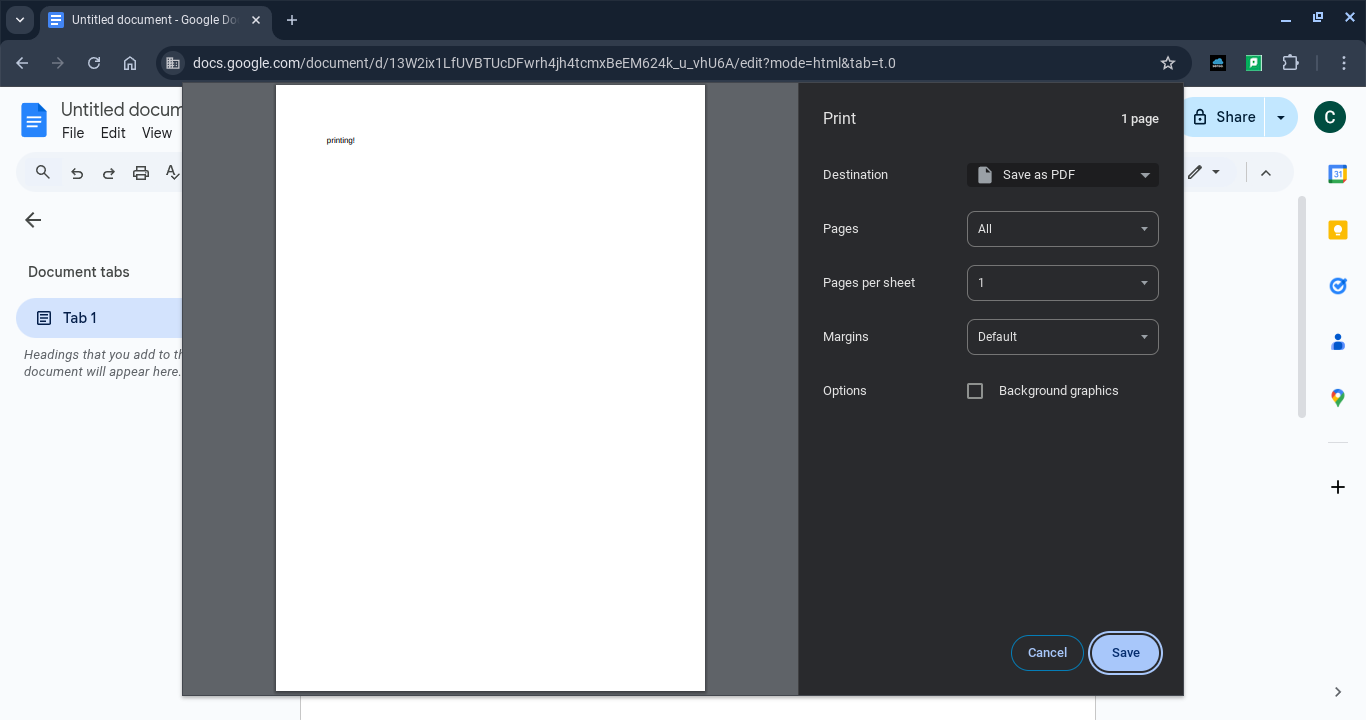
- Once you’ve opened that menu, click the button next to Destination, and click See more.
- This will open a screen which, after a few seconds of loading, should display the printer queues relevant to the school you are in. NOTE: Be careful to check that the printers displayed correspond to the school you are trying to print in. John Mason should display printers starting with JMS, and Fitzharrys should display printers starting with FHS. If you see the queues for the wrong school, or some completely different printers, see I see the wrong printers available (page __).
- Select the printer that you require depending on your needs. Use FollowMeColour for colour printing, and FollowMeBW for black and white printing. NOTE: You should always use the FollowMe queues. Fitzharrys sometimes shows other printers, but these should be ignored. The FollowMe queues will allow you to print from any printer within the school site.
- Once selected, you can change any setting you may need on the screen, such as pages, size, layout, etc.
- Once you have the settings just how you want them, click the blue Print button in the bottom right.
- A box from Papercut will then appear. Type in the username and password you would usually use to log in. NOTE: A Log in with Google button may appear, though this unfortunately doesn’t seem to work. Instead, use the username and password boxes.
- Click the Sign in and print button. You can then go to the printer, log in, and print. If you are unsure how to do this, see How do I use the printer? (page __).